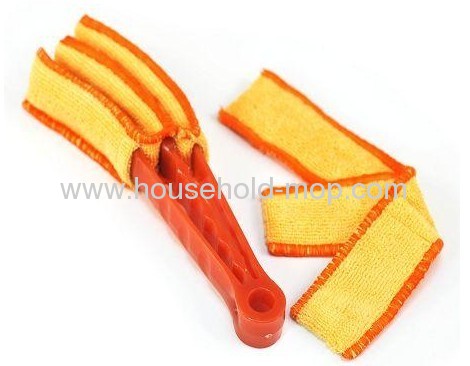
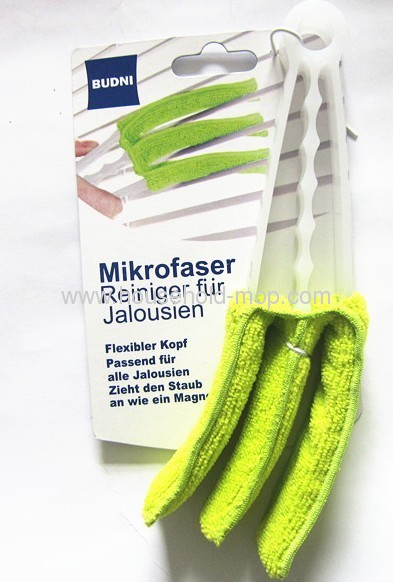
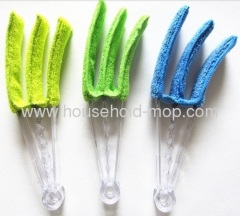
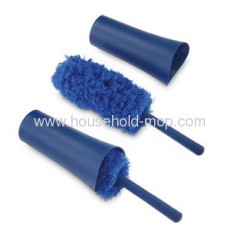
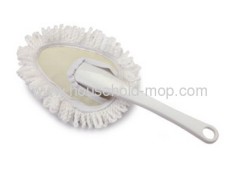
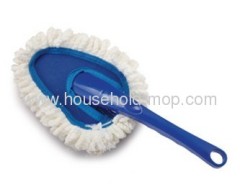
The innovative Microfiber Blind Cleaner by Evriholder Products is the easiest way to keep your mini blinds clean and dust-free. Microfiber is a superior cleaning material; Each synthetic fiber acts as if it is magnetically charged to attract negatively charged dust particles. Dust, dirt, and lint cling to the loops and lift off from any surface. The Blind Cleaner is designed with 3 sections to fit around each slat to clean the top and the bottom. Simply slide across and your blinds are cleaned. And since the blind cleaner dusts 3 slats at a time, your chores are quicker than ever.
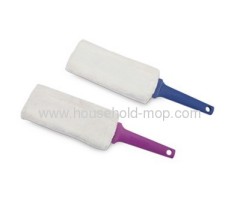
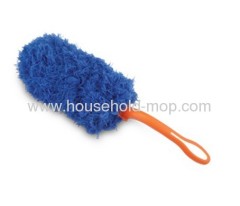
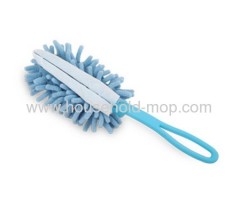
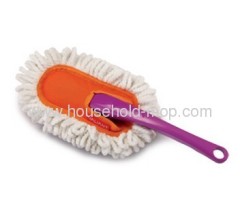
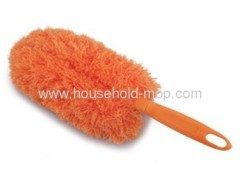
Microfiber cloth and flexible hanger, clean up the place easily and easy to clean any gap.
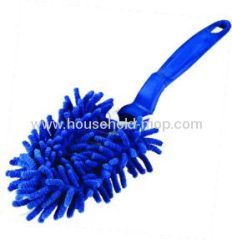
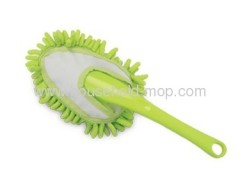
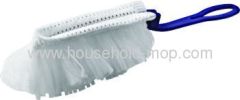
Used to remove air conditioning leaves, blinds and other hard to clean up the daily office dust. Removable and washable. To do more thorough cleaning.
No matter what kind of blinds you have—wooden, fabric and vertical are the three basic types—these tips will make their cleaning and maintenance easy:
1. Vacuum blinds often with the brush attachment. Vacuum across the slats, not up and down.
4. Use a rubber sponge, also known as a dry sponge (found at hardware and paint stores), to remove dust and residue from both fabric and vinyl blinds. Simply wipe the dry sponge firmly across the blinds.
5. For spot cleaning, spray an all-purpose cleaner onto a clean dry cloth and wipe the soiled area of the blind. Never spray the cleaner directly onto the blind.
7. If fabric blinds become very dirty, take them to a dry cleaner.
9. To clean metal and vinyl blinds, follow this method: Take the blinds outside to your patio or driveway and lay them on a small rug or piece of carpet. Put a few drops of dishwashing soap in a bucket of water. Wet a car-washing brush and brush the blinds from side to side, and then turn them over and brush the other side. Rinse the blinds gently with a garden hose while tilting them so that the water runs off. To prevent water spots from forming, quickly run your finger down the slats a couple of times to remove excess water. When done, drape the blinds over a fence or a couch to dry.
Wooden Blinds Past and Present
Did you know that wooden-slat blinds have been used to grace windows since Colonial times? Thomas Jefferson used wooden blinds at his home, Monticello, as did many of the colonists who lived at Williamsburg, Va.
During a visit to Colonial Williamsburg, my decorating partner, Matt Fox, and I learned that blinds were popular during that period because draperies were very expensive. Fabric had to be imported from England and was heavily taxed. Wooden blinds were made locally, however, and were far less costly.
But times have changed, and wooden blinds are no longer inexpensive. But they are still a wonderful addition to a room. Because they come in a variety of wood tones, they are quite versatile. They offer privacy at night, but can be raised during the day to allow unobstructed viewing.
They also make a beautiful window treatment. Matt and I agree with the colonists! Wooden blinds are so pretty, who wants to cover them with heavy window treatments? Often, however, the beauty of wooden blinds can be enhanced by a window topper. Matt and I recently redecorated a traditionally styled den. The wooden blinds seemed somehow incomplete, until we added a pleated valance.
The topper provided color and softness to the shade, making the blinds even more beautiful. If you'd like to try this topper in your home, you'll need the following materials:
two coordinating fabrics
cording
1 x 4-foot board measured to the width of your window
L-brackets
staple gun
Oh, you may need one more thing--a calculator. Although this topper looks complicated, it's really easy to put together. It's just figuring out the sizes of the panels that's a little tough.
The panel is made of four sections: a lined upper panel, a lined lower panel, the pleated pieces and welting. The completed valance is actually a flat panel attached to a 1 x 4, which is then mounted to the wall.
To begin this project, you must determine the width of your completed panel. First, measure the width of your window.
Because the topper will "wrap" around the sides of a 1 x 4, you'll need to add nine inches to this measurement. This measurement includes a half-inch seam allowance.
To make the upper panel of the valance, you'll need to cut two rectangles from your main fabric and lining fabric. These rectangles should measure eight inches by your width measurement. Sew the fabrics together along both short sides and one long side. Clip the corners and turn the panel right side out. Press the seams flat.
The same process is used to create the lower panel. Cut two additional rectangles measuring 11 inches by your width measurement, and repeat the sewing process. Set both the upper and lower panels aside.
I decided to include welting in this topper to add a bit of tailoring detail. There are many ready made weltings available at your local fabric store, or you may decide to cover your own welting by sewing a strip of the coordinating lining fabric over cording.
Use your width measurement to determine how long your piece of welting needs to be.
Finally, you need to create the "pleats," which are nothing more than small lined rectangles. First, decide how many pleats you want to include on your topper. It is best to choose an odd number of pleats. I decided to try five pleated sections on my topper, but if your window is narrow, you might have less.
To determine the size of these rectangles, I took the width of the window and divided by the number of pleats I wanted--in this case five. My window was 40 inches wide, so I divided 40 inches by five pleats.
Since the finished pleats are folded in half, I needed to double this result and add an inch for seam allowances, so the cut width of each pleat was eight inches times two, plus an inch, totaling 17 inches. (Whew--that's a lot of math!)
Fortunately, figuring out the height of each pleat requires no computation at all. The height for each pleat is 11 inches.
Using these measurements, cut out the desired number of rectangles from both coordinating fabrics. Sew the fabrics together along both short sides and one long side. After clipping the corners, turn the panels right sides out and press the seams flat.
To create the valance, position the pleated sections on top of the right side of the lower panel, and then place the cording along the top edge. Put the upper panel on top (right side down) and sew all four sections together, keeping the top panel's lining fabric out of the seam.
Hand-sew the seam along the back of the cording. To add interest, flip back the corners of every other pleat and hand-tack into place.
There are several ways to attach your valance to the 1 x 4 mounting board. The easiest is to staple the valance directly to it. If you plan to remove the valance for dry cleaning, you may decide to use Velcro to attach the panel.
Maybe your home isn't quite as elegant as Monticello, but you might find, like Thomas Jefferson, that wooden blinds are still a great addition to your rooms.
(Matt Fox and Shari Hiller alternate writing this column. They also are authors of Real Decorating for Real People and co-hosts of the Home & Garden Television show Room By Room).