HOW TO FINISH (WAX) FLOORS
Purpose
To provide a protective floor surface which improves the floor's appearance and is easy to maintain.
Note: The thickness of 3 coats of finish (wax) is less than the thickness of wax paper, therefore, the finish (wax) must be applied properly to do the job.
Supplies and Equipment
2 buckets on dolly or cart with casters
2 wringers (one per bucket)
Plastic liners
"Floor Hazard" signs
Floor finish
Floor machine (optional)
Fresh water
*the mop used in this procedure should be clean and only used for floor finishing.
Procedure
1. Prepare to finish floor area:
a. Follow floor stripping procedure in household-mop.com pamphlet "How to Strip Floors".
b. Allow floor to dry. Pick up any lint or other foreign material.
c. Move supplies and equipment into area where floor is being finished.
d. Place "Floor Hazard" signs at entrances to area if they are not already there.
e. Fill one bucket 3/4 full with fresh water.
f. Put plastic liner into empty bucket before pouring in the finish, then pour finish into plastic lined bucket. The plastic liner keeps the bucket clean and keeps the finish (wax) from becoming contaminated with residue that might be in the bucket.
2. Dip clean mophead into fresh water and wring out well.
3. Dip the damp mophead into the floor finish (wax) and wring out so mophead does not drip.
4. Starting at the farthest corner from the door, apply a thin coat of finish on the floor next to the baseboard on each side of the corner. Apply 6' to 9' at a time.

Tip:
Turn the mophead often and redip in finish before the mophead becomes dried out and streaks the floor.
5. Using a side to side (figure eight) movement, apply the finish to the floor area and overlap the strokes of the mophead as shown below. Avoid splashing. Apply amounts of finish evenly and cover all areas.
6. Allow floor to dry 20 - 30 minutes or until floor does not feel tacky to the touch.
7. If needed, apply more coats of finish as before except stay 6" to 12" away from the baseboards. This area gets little or no wear since people cannot walk that close to the baseboard. Multiple coats of finish at the base boards build up too much.
8. Allow second coat to dry completely.
9. If buffing is desired between coats to level the finish and to increase the gloss, be sure:
a. That the finish (wax) used is buffable
b. To use the correct buffing pad on the floor machine.

Note:
When buffing between applications of coats of finish, be sure to mop the floor with a dry dust mophead before applying the next coat. Buffing between coats is to level the finish.
10. Remove "Floor Hazard" signs after floor is dry.
11. Clean mophead (If Great White Finish Mop is used, simply rinse finish from mop with clean water and hang to dry) and buckets.
12. Store your equipment and supplies.
Reminder: A buffable finish can be applied on top of a non-buffable finish, but a non-buffable finish can not be applied on top of a buffable finish.
Accomplishment
By following this floor finishing (waxing) procedure, the floor's appearance will be clean, attractive, and easier to maintain.
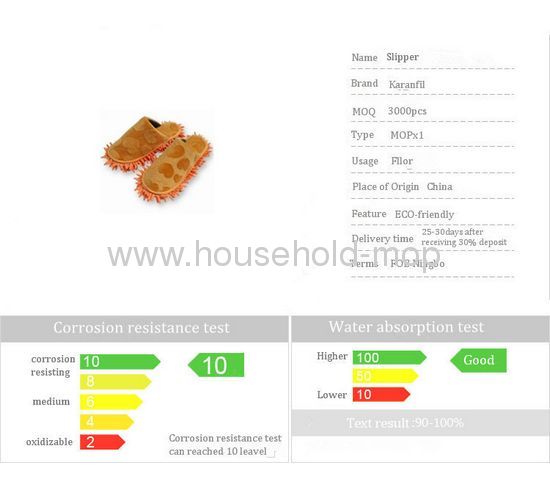
1.Fuzzy Plush for Winter Slippers' upper material.
2.Charater:comfort-footed,soft,wear-resistant,anti-skid,and non-toxic,environmental and safty for health;popular design and nice looking of fuzzy winter slippers.


